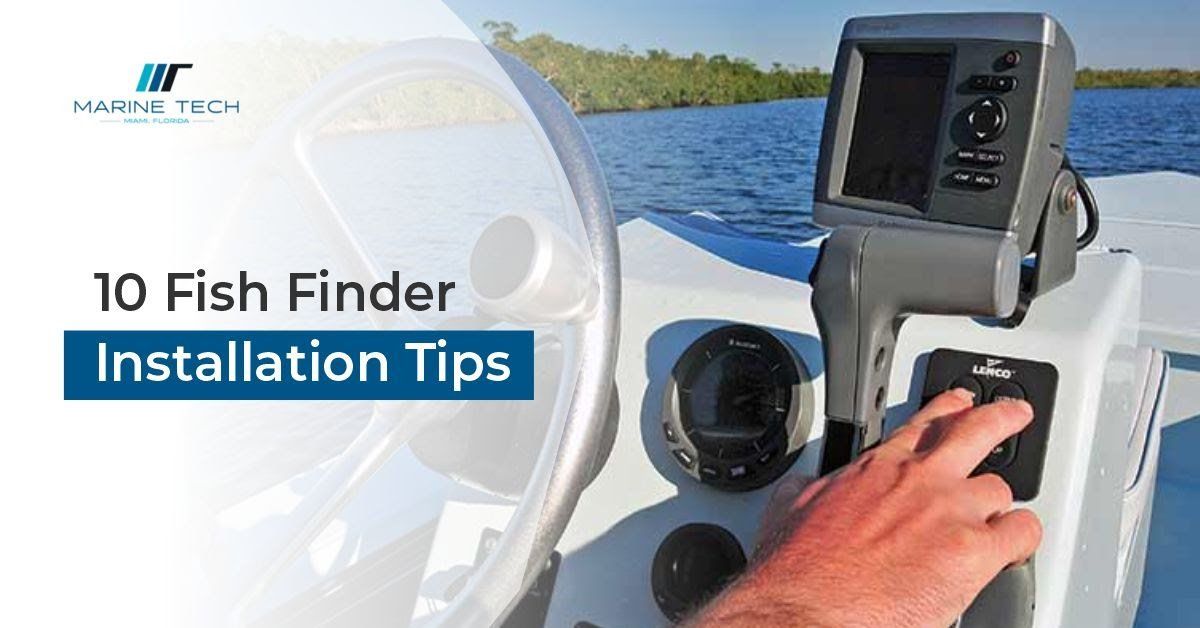
Top 10 Fish Finder Installation Tips (2023)
Fishing is an excellent outdoor activity that allows you to relax and immerse yourself in nature’s beauty while helping you develop valuable survival skills. However, it can be tough to find fish in the water from the surface, especially if you’re targeting specific fish species.
Fortunately, nowadays, you can use a fish finder to help you determine where the fish are and other vital details, like species and size.
Still, it can be tough to install one if you’re unsure of what to do. Moreover, the installation process will differ, depending on where you choose to mount it.
With that said, check out the top 10 fish finder installation
tips below to learn more about installing a fish finder on your boat.
What Is A Fish Finder?
Before diving into the details of installing a fish finder on a kayak or other boats, let’s discuss further what this device is. Simply put, a fish finder is a marine device used by fishermen to determine a fish’s location underwater.
It uses a Sound Navigation and Ranging (SONAR) system to locate different fish species underwater. A fish finder typically has a digital screen display wherein you can check the location of underwater creatures, allowing you to catch fish more efficiently and precisely.
This technology has been used since the 1990s, but modern advancements have been integrated to upgrade the device. For example, electronic compasses and GPS can be combined to increase their reliability for locating fish.
Top 10 Tips for Depth Finder Installation
Fish finders are undoubtedly helpful devices, especially for those who are fishing from a kayak. Not only can they help you locate fish, but they can also help you gauge the depth of the waters you’re in, thereby allowing you to land on a suitable spot if you like diving off your kayak.
With that said, installing a depth finder on a boat can be somewhat challenging, especially if you’re looking for the perfect place to mount it.
With that said, check out these top tips for fish finder installation that will allow you to maximize what this handy device has to offer.
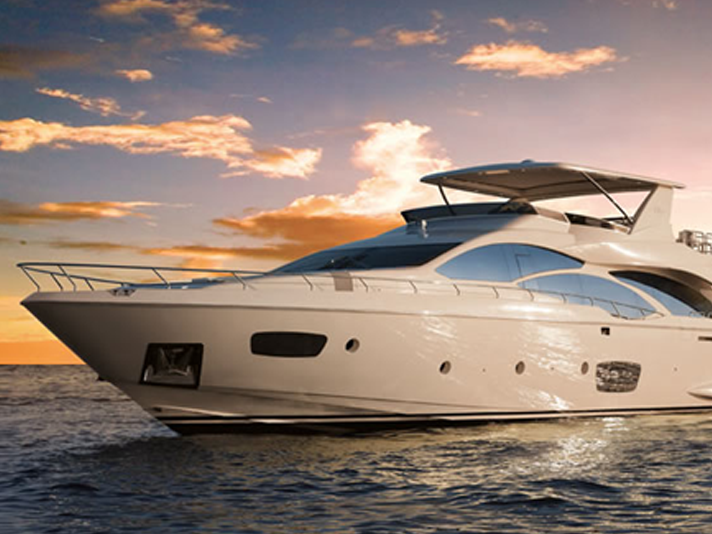
Image: Source
Register your device.
Before you mount it anywhere on your boat, the first step you should take is registering your fish finder. You should do this immediately after unboxing your handy new device because this allows you to activate your warranty in case you encounter any issues.
Registering your new fish finder with the manufacturer also allows them to contact you whenever there are updates or crucial information regarding your device.
Update its software.
Compared to the technology used in previous models, today’s fish finders are more advanced and sophisticated. They often have built-in software that allows your device to function more effectively and provide more accurate results.
With that said, after you have unboxed and registered your new device, the next step you should take in the process of depth sounder installation is to update its software. Making sure that everything is up-to-date will ensure its smooth operation while out in the water.
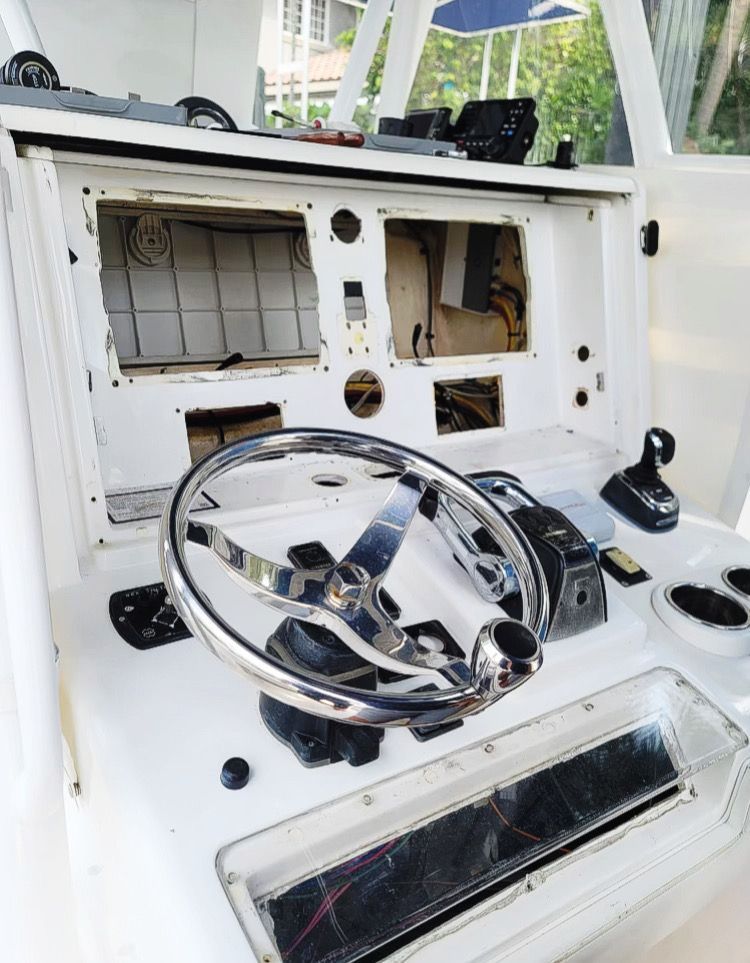
Find the best mounting location.
Once everything is in order, you can now select the best location for installing a fish finder on a kayak or boat. This is perhaps the most crucial aspect of the installation process because its location can determine its functionality.
After all, you wouldn’t want to go through the trouble of following all the Garmin Striker 4 Transducer installation instructions only to find that you picked the wrong spot to mount it.
With that said, to find the best location, make sure it’s in a spot where you can easily reach it without obstructing your visibility or other essential functions. Moreover, if you need it to turn around 180 degrees, ensure that your mounting location has enough room for it.
Secure the power supply.
Once you know where you want to put your new fish finder, the next step would be to ensure that it actually reaches your chosen power supply. Moreover, make sure that the power source will provide enough power for your device.
Aside from this, you should also make sure to avoid experiencing interferences for more accurate results. For this, you can install a ferrite ring, especially if you’re using a trolling motor as a power source.
Find the best location and angle for your transducer.
Your device’s transducer plays a significant role in getting the best images, so you will need to find the best location and angle for its installation. Make sure to identify where’s the best place for your specific kind of boat.
After all, improper installation of the transducer will result in poor images and inaccuracy in what you see on the digital screen of your fish finder.

Don’t forget the transducer’s mounting board.
Installing the transducer on the boat’s hull is a crucial part of the fish finder installation process, but doing so without the transducer mounting board will result in a poorly performing sonar device.
Still, this will depend on the type of hull you have, so check out the following for installation on different hull types.
Aluminum
When installing your transducer on aluminum hulls, make sure it’s nowhere near welded or riveted joints. This is because it’ll form air bubbles, significantly reducing the quality of your images.
Fiberglass
For fiberglass hulls, make sure to install it on the transom (for smaller units) or the jack plate (for larger ones). Moreover, ensure to avoid obstructions in the surroundings, including speed and temperature sensors. You can add a transducer shield for additional protection.
Run your wires with a snake.
Running your wires may be the most daunting part of the process, especially since you’re dealing with electrical components and not all boats have the same structure. With that said, it’s best to use a snake for running your wires instead of removing the boat panels.
This can help you pull the wires through without dismantling anything, but you need to make sure that they don’t get caught in the other parts of the boat, especially the motor.
Finalize the connections.
Once you have run the wires, the next step would be to ensure that everything is working correctly. Make sure that all parts are functioning well and you’re getting the best possible performance out of your fish finder.
Secure the wires.
If everything is working as it should, the next step would be to secure the wires. This means using heat-shrink connectors wherever they’re needed and spraying all connections with a generous amount of corrosion inhibitors. This will help everything become more resistant to corrosion, thereby prolonging its lifespan.
Wait until everything has cured and dried.
It may be tempting to go out for a test run after installing your new fish finder, but you need to make sure that everything – including the sealants used – cures and dries completely. It usually takes a week to cure entirely, but this will depend on the environmental conditions.
With that said, after giving it enough time to settle, you can go ahead enjoy your new device out in the water.
Frequently Asked Questions
Final Thoughts
A fish finder is undoubtedly a handy device for your boat as it can give you valuable information from the comfort of your vessel. Still, the installation process can be tricky, which is why you might find the tips mentioned above helpful.
Suppose you’re not confident about doing it yourself. In that case, you can always check out reputable providers like Marine Tech Miami, who can handle everything for you.
Contact Us
Contact Us
Recent Posts

CONTACT US
Looking to upgrade your marine electronics?
With more than 25 years of experience, we can help you get started today!