How To Install A Fishfinder On Your Boat? (2023)
A fish finder is an electronic device that uses sonar technology to detect fish and other underwater objects.
It can help you improve your chances of catching the big one by displaying information about the depth and location of fish.
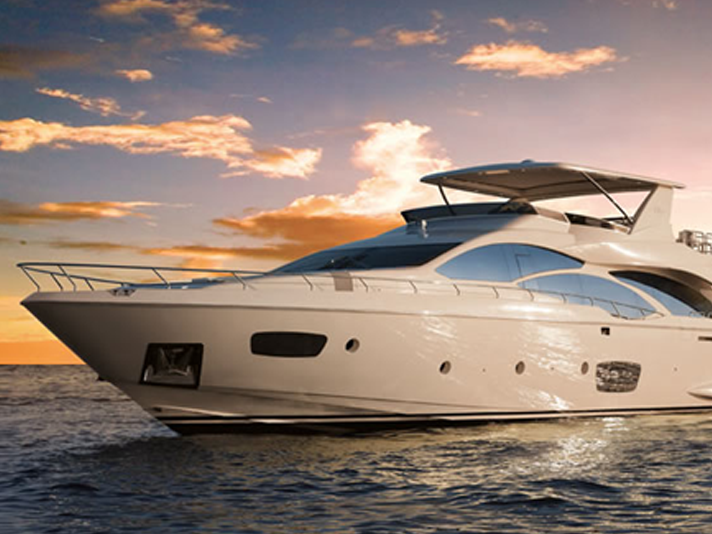
Installing a fish finder on your boat can be a game-changer for successful fishing trips.
Not only does it increase your chances of locating fish, but it can also help you navigate safely through unfamiliar waters.
By using one, you can avoid running aground or hitting underwater obstacles, giving you peace of mind while you focus on fishing.
In this blog post, we will provide a step-by-step guide on how to install a fish finder on your boat.
From choosing the right fish finder for your needs to mounting and wiring the device, we will cover everything you need to know to get your fish finder up and running.
How To Install A Fishfinder On Your Boat?
There are many steps that you must take to install a fishfinder on your boat, let's take a closer look at each one of them:
I. Gather supplies
Here are the items you'll need:
- Fishfinder: There are various types of fish finders on the market, ranging from basic models to sophisticated ones with GPS, maps, and other features. Choose one that suits your needs and budget.
- Mounting kit: Your fish finder should come with a mounting kit, which includes a transducer, mounting bracket, and screws.
- Power source: You'll need a power source to run your fish finder. You can use the boat's battery or purchase a separate one.
- Wiring: You must wire your fish finder to the power source and transducer. Make sure you have enough wire to reach the desired location.
- Tools: To install your fish finder, you'll need a drill, screwdriver, pliers, wire cutters, and a wrench.
When choosing a fish finder, consider the type of fishing you'll be doing, the depth of the water you'll be fishing in, and the size of your boat.
If you're feeling in shallow water, a basic model may suffice. However, fishing in deeper waters or the ocean requires a more advanced model with a higher frequency and excellent depth range.
Additionally, consider the size of your boat when selecting a fish finder.
Larger boats may require a larger display screen for better visibility. GPS and mapping features can also be helpful if you frequently fish in unfamiliar waters.
II. Determine placement
Once you have all the necessary tools and supplies, the next step in installing a fish finder on your boat is to determine the proper placement.
The placement of your fish finder can significantly affect its performance and accuracy, so it's essential to choose the correct location.
Firstly, it's crucial to find a spot where the fish finder will be easily accessible and viewable while you are using it.
Typically, fish finders are mounted on the helm or console of the boat, but they can also be installed on the bow or other areas depending on the size and type of the ship.
So again, the key is to find a location that is convenient and easily accessible for you to use while you're fishing.
Secondly, it's essential to consider the type of boat you have when determining placement.
For example, if you have a smaller boat, mounting the fish finder on the console may not be possible due to limited space.
In this case, the boat's bow may be a better location. On the other hand, if you have a larger boat, you should consider multiple fish finders installed at different locations to provide the best coverage.
Thirdly, consider the type of fishing you plan to do. For instance, if you plan to fish in shallow waters, mounting the fish finder on the bow may be the best choice, allowing you to see what's ahead.
On the other hand, if you plan to fish in deeper waters, mounting the fish finder on the helm may be the best option, allowing you to see what's beneath the boat.
Lastly, it's vital to ensure that the fish finder is mounted securely and does not interfere with other equipment on your boat.
You can use mounting brackets or screws to secure the fish finder.
III. Install the display unit
A fish finder display unit is a device that provides information about the water's depth, the location of fish, and other underwater objects.
Installing the display unit is the final step in setting up your fish finder system.
This section will discuss the different types of display units available and how to choose the best one for your needs.
We'll also provide step-by-step instructions for mounting and connecting the display unit to the transducer.
- Choosing the right display unit.
When selecting a display unit, there are several factors to consider.
Firstly, consider the size of your boat, as well as the size of the space you have available for mounting the display unit.
The display unit should be easily read and used in any lighting condition.
The unit should also be compatible with the transducer you have chosen.
Several types of display units are available, including standalone, combination, and networked. Standalone units are basic and only display sonar information.
Combination units combine sonar with other features such as GPS and mapping.
Finally, networked units are the most advanced, allowing you to connect multiple devices and share information.
Choose the display unit that best suits your needs and budget.
- Mounting and connecting the display unit.
Once you have chosen the display unit, the next step is to mount it in a convenient location.
The display unit should be mounted in a place that is easy to read and operate.
A typical location is near the steering wheel, where the captain can easily access it.
After finding a suitable location for the display unit, use the mounting bracket that came with the unit to attach it securely to the boat.
IV. Install the transducer
After identifying the most fitting location for your fish finder, it's time to attach the transducer - an essential part of your device responsible for sending and receiving sonar signals.
Follow these steps to safely mount this element and link its cable to the display unit:
- Choose the mounting location: The transducer should be mounted to the bottom of the boat so it won't be damaged by debris or grounding. Avoid mounting it in areas where water is turbulent or air bubbles could be introduced.
- Mark the location: Use a marker to indicate where you will drill the holes for the transducer mounting bracket.
- Install the mounting bracket: Attach the mounting bracket to the marked location with screws, and ensure it is level and flush with the bottom of the boat.
- Install the Transducer: Slide the transducer onto the mounting bracket, and secure it with the provided hardware.
- Connect the cable: Run the cable from the transducer to the display unit, ensuring it is secured along the way. Use a cable tie or clip to keep it from dangling or rubbing against the boat.
V. Powering the fishfinder
Once you have installed the transducer and display unit, it's time to power up your fish finder.
Different power options are available for fish finders, including battery power and AC power.
This section will discuss these power options and provide instructions for connecting the fish finder to your boat's battery.
Battery Power Most fish finders are designed to operate on a 12-volt battery.
You can use a dedicated marine battery or connect the fish finder to your boat's battery.
If you use a dedicated marine battery, ensure it is fully charged before installing it.
If you are connecting the fish finder to your boat's battery, locate the battery and ensure that it has enough power to operate the fish finder.
Connecting to the battery to connect the fish finder to your boat's battery, follow these steps:
- Locate the positive and negative terminals on your boat's battery. They are usually labeled with a plus (+) and minus (-) sign.
- Connect the positive wire from the fish finder to the positive terminal on the battery. This wire is usually red and may have a fuse attached to it. Make sure the connection is tight.
- Connect the negative wire from the fish finder to the negative terminal on the battery. This wire is usually black. Again, make sure the connection is tight.
- Turn on the fish finder to make sure it is receiving power.
It's important to note that the fish finder should be connected to a fuse or circuit breaker to prevent damage to the unit in case of a power surge.
You can connect the fish finder to a fuse or circuit breaker by adding an inline fuse holder to the positive wire between the battery and the fish finder.
Refer to the manufacturer's instructions for specific installation and power requirements for your particular fish finder model.
Also, remember, if you feel uncomfortable installing it yourself, it's always a good idea to seek the help of a professional electrician or boat technician.
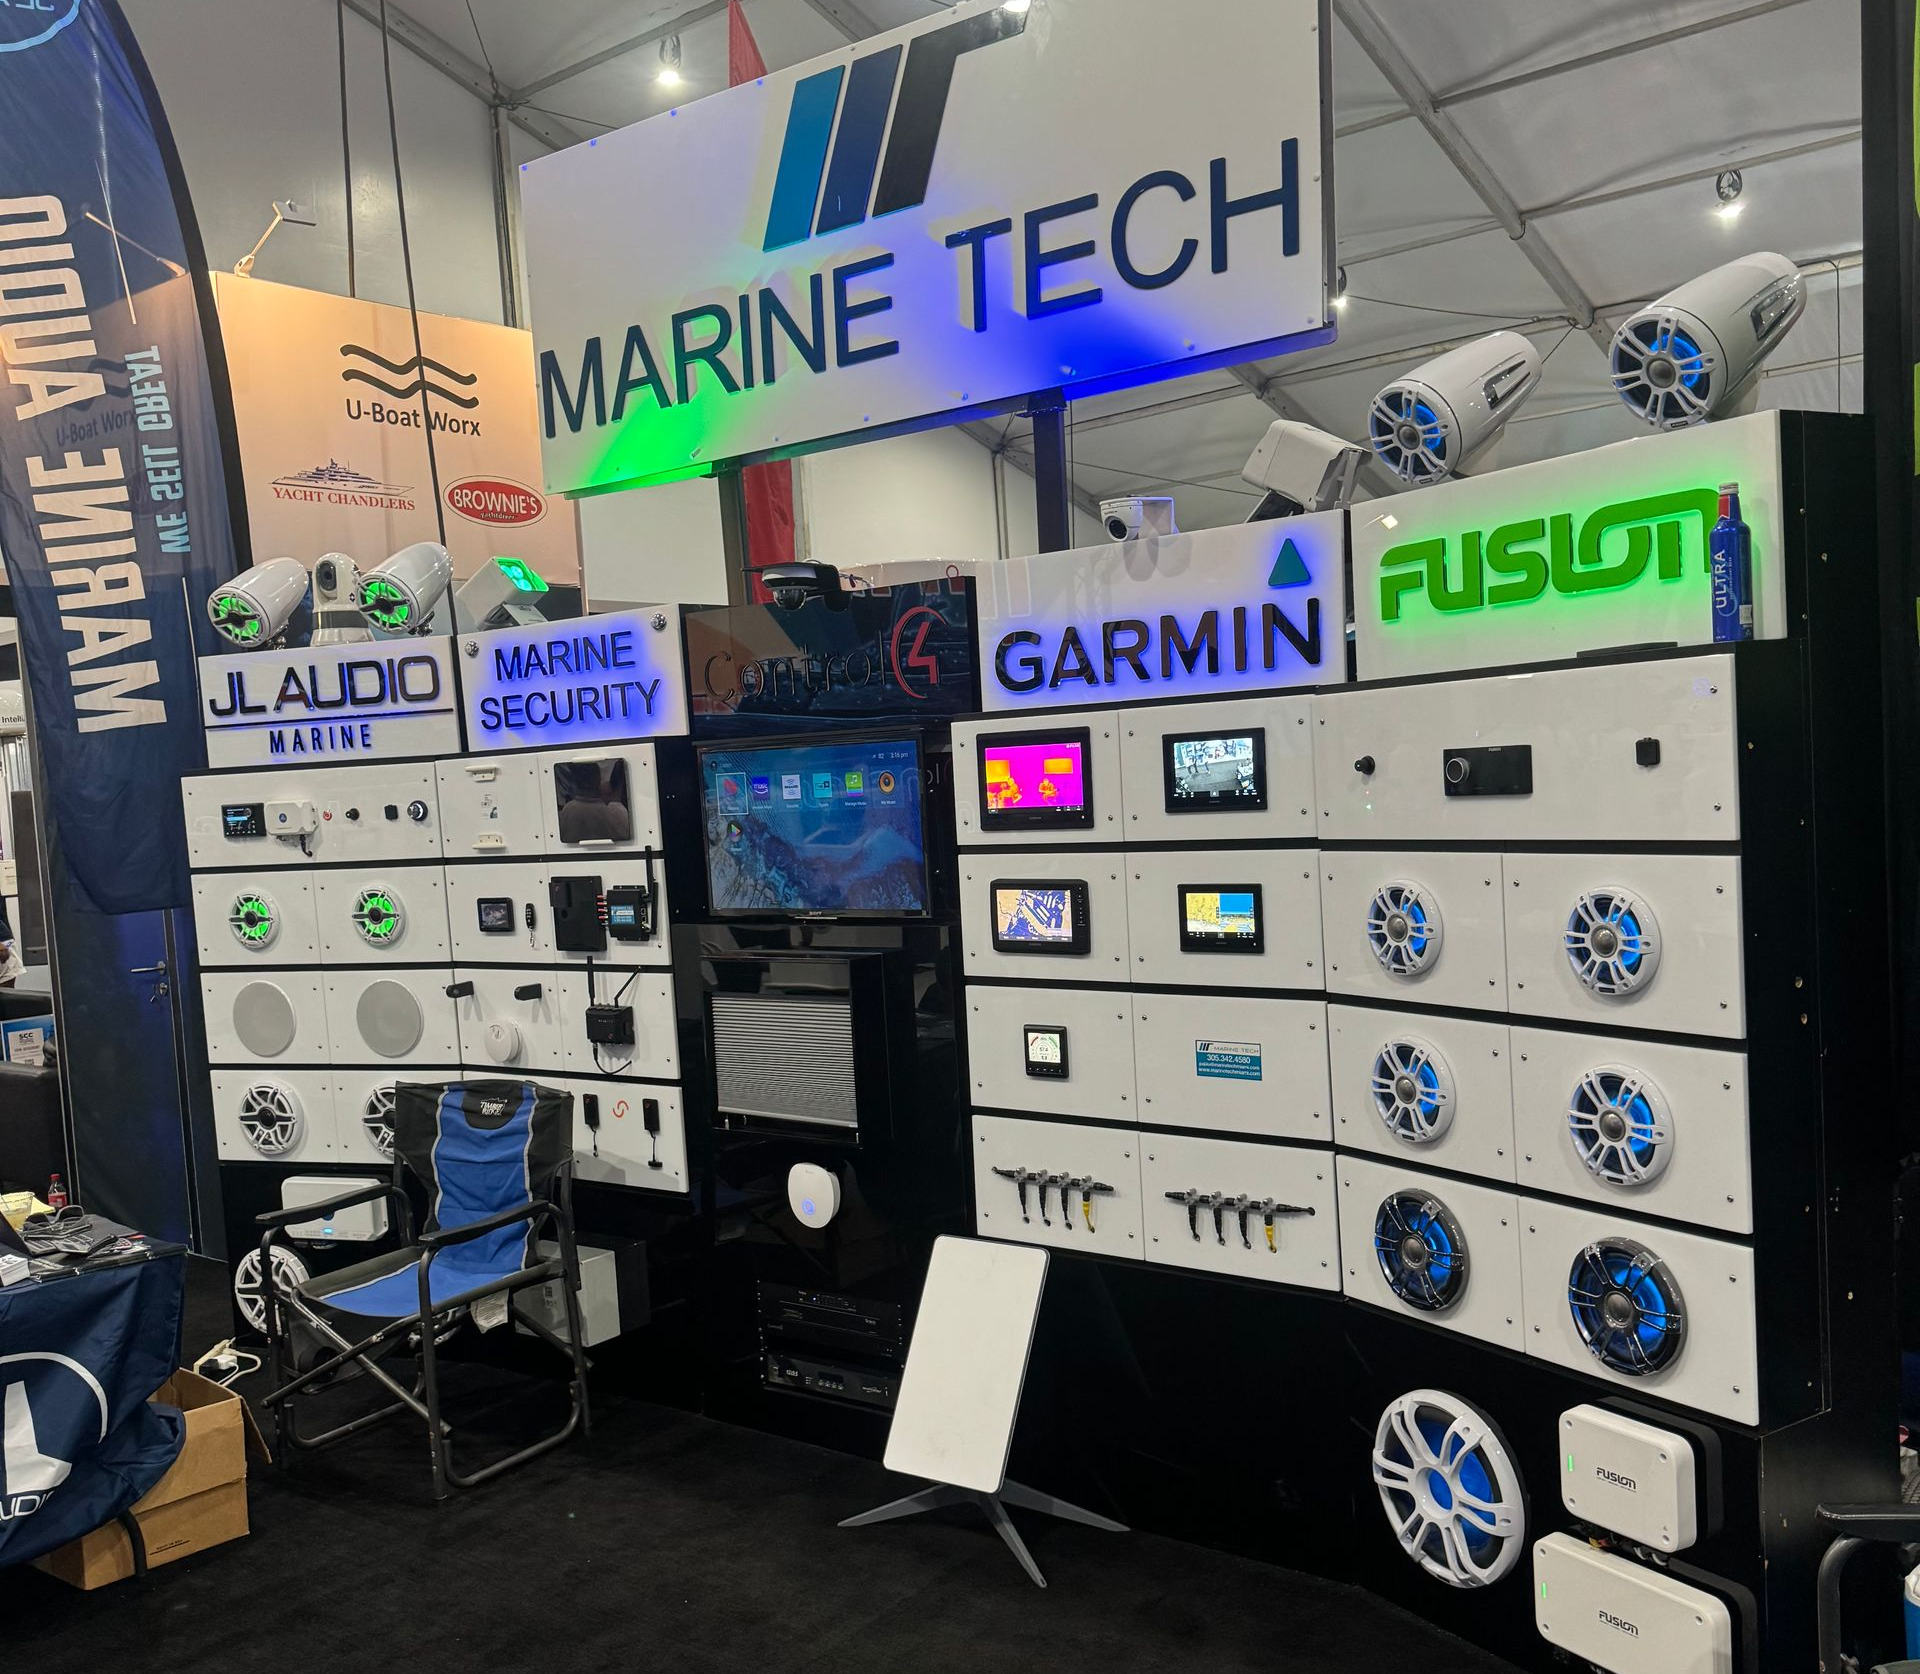
And that's where we can help!
With more than 25 years of experience, our team has worked with every type of boat, from personal watercraft to mega yachts.
The Marine Tech team has the experience, quality, and warranty that you and your boat deserve.
We specialize in all types of marine electronics installation, and we can help get started with any upgrade you're thinking of doing to your vessel.
Contact us today for a free estimate!
Contact Us
Contact Us
Recent Posts


CONTACT US
Looking to upgrade your marine electronics?
With more than 25 years of experience, we can help you get started today!